mediumVehicles
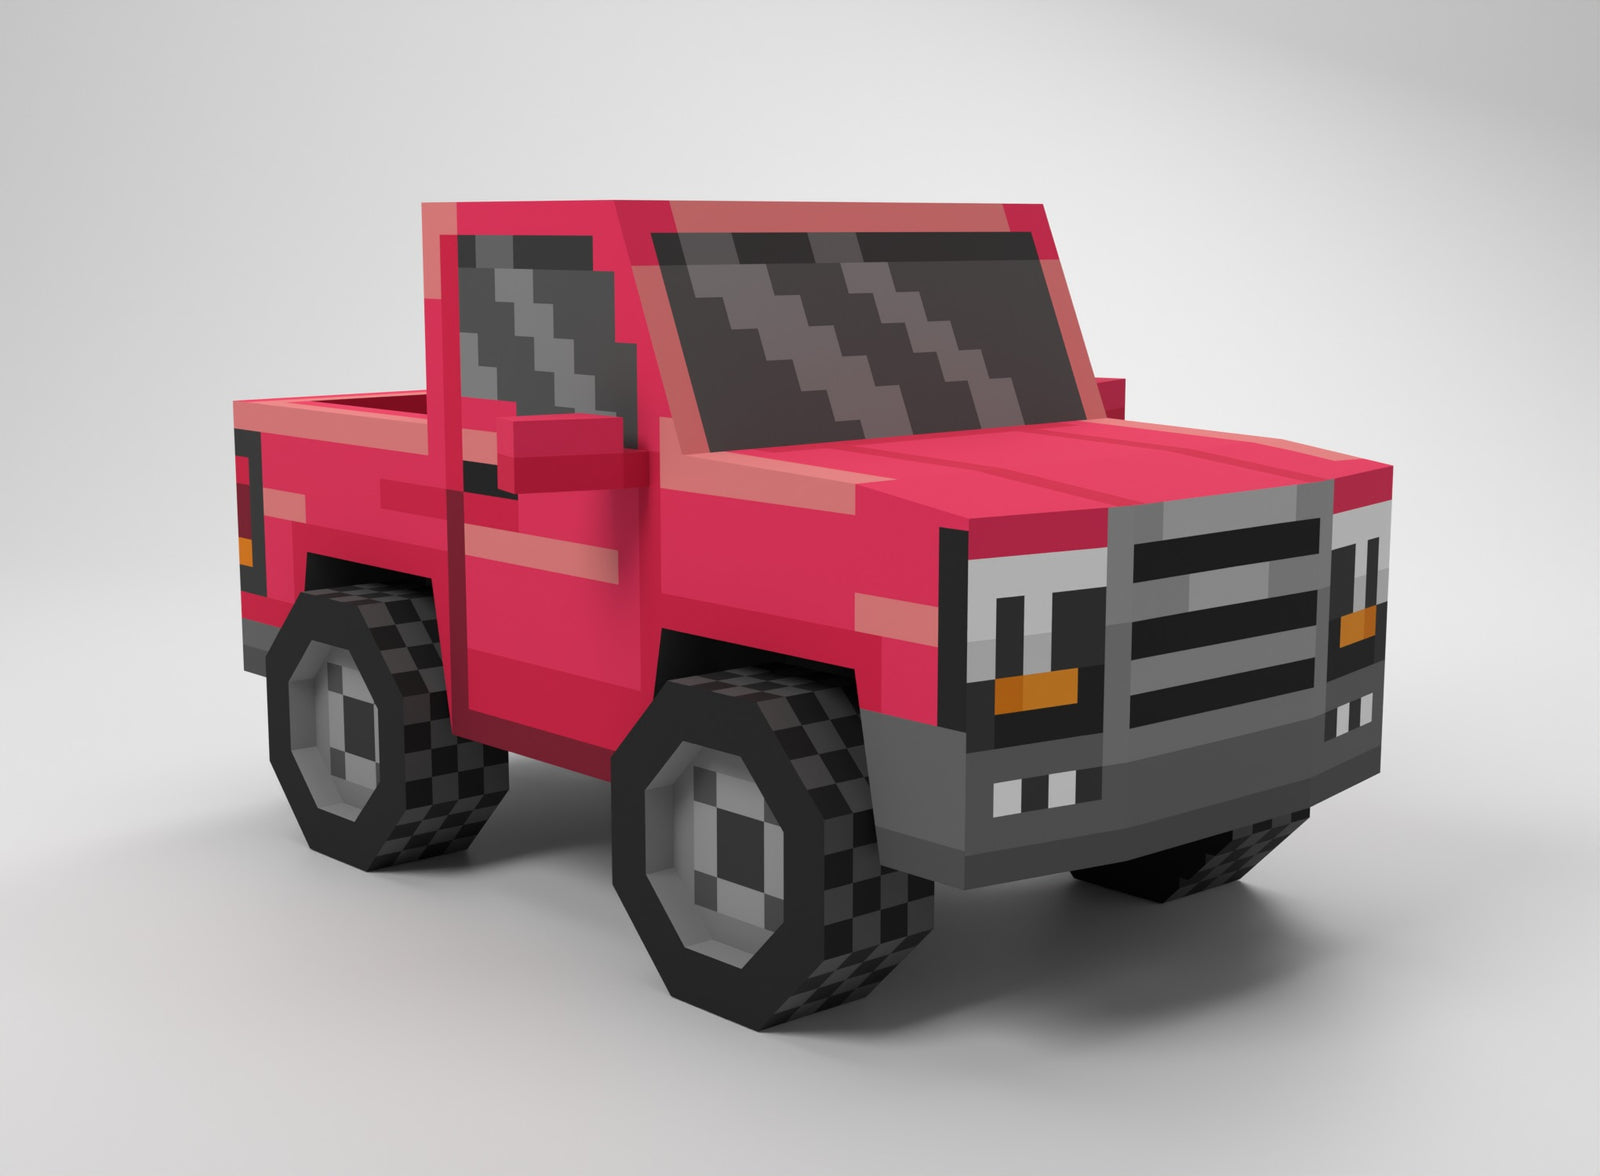
Red Truck
Pieces30
Sheets10
Finished size
17.5 x 26 x 15cmEasiest way
Get the precut kitCut, scored and ready to fold. Instructions included.
$33.95CAD, plus shipping
Download the PDFPrint it at home and build it yourself.
Freeno account needed
PDF or kit?
More about kits| Feature | Free PDF | Sticksy kit |
|---|---|---|
| Template | PDF download | Printed for you |
| Paper | You buy cardstock | Included |
| Cutting | By hand | Done |
| Scoring | By hand | Done |
| Instructions | General guide | Step by step, per model |
| You still do | Everything | Folding and gluing |
Building from the PDF
Full guide01Print
- Paper size. Templates are laid out for A4 (210 x 297 mm). Letter (8.5 x 11 in) works for most models too. Check the print preview to make sure no part runs off the edge.
- Paper weight. Use 160 to 230 gsm cardstock. Office paper is too soft to hold a shape, and much heavier stock cracks when you fold it.
- Scale. Print at 100%, sometimes called "actual size". Turn off "fit to page" and "shrink to fit", or the parts will not line up.
- Quality. Pick the best quality setting your printer has and turn off any draft or ink saving mode. Thin lines are easier to follow when they are crisp.
- Double sided templates. If a template has back pages, print double sided and flip on the long edge. Run one test page first to check the two sides line up.
02Cut
- Use a sharp blade. Cut with a craft knife against a metal ruler, on a cutting mat. Swap the blade as soon as it starts to drag or tear the paper.
- Small parts first. Cut inside corners and small details before you free the part from the sheet. A full sheet is much easier to hold still.
- Keep parts in order. Lay the parts out in the order you cut them. If a part number gets trimmed off, pencil it on the back.
03Score and fold
- Score before you fold. Run a bone folder or an empty ballpoint pen along each dashed line with a ruler. You want to dent the paper. Never cut through it.
- Fold everything once. Fold every line on a part before you glue anything. It is far easier while the part is still flat in your hands.
04Glue
- Less glue than you think. Spread a thin layer on the tab with a toothpick or a scrap of card. Too much glue warps the paper and squeezes out of the seam.
- One tab at a time. Press each joint and hold it for 10 to 15 seconds before you move to the next one.
- Build in sections. Put together the small sections first, let them dry, then join them. Close the model up with the largest, easiest to reach seam.